Mold Cleaner Tips: Clean Molds Without Damage
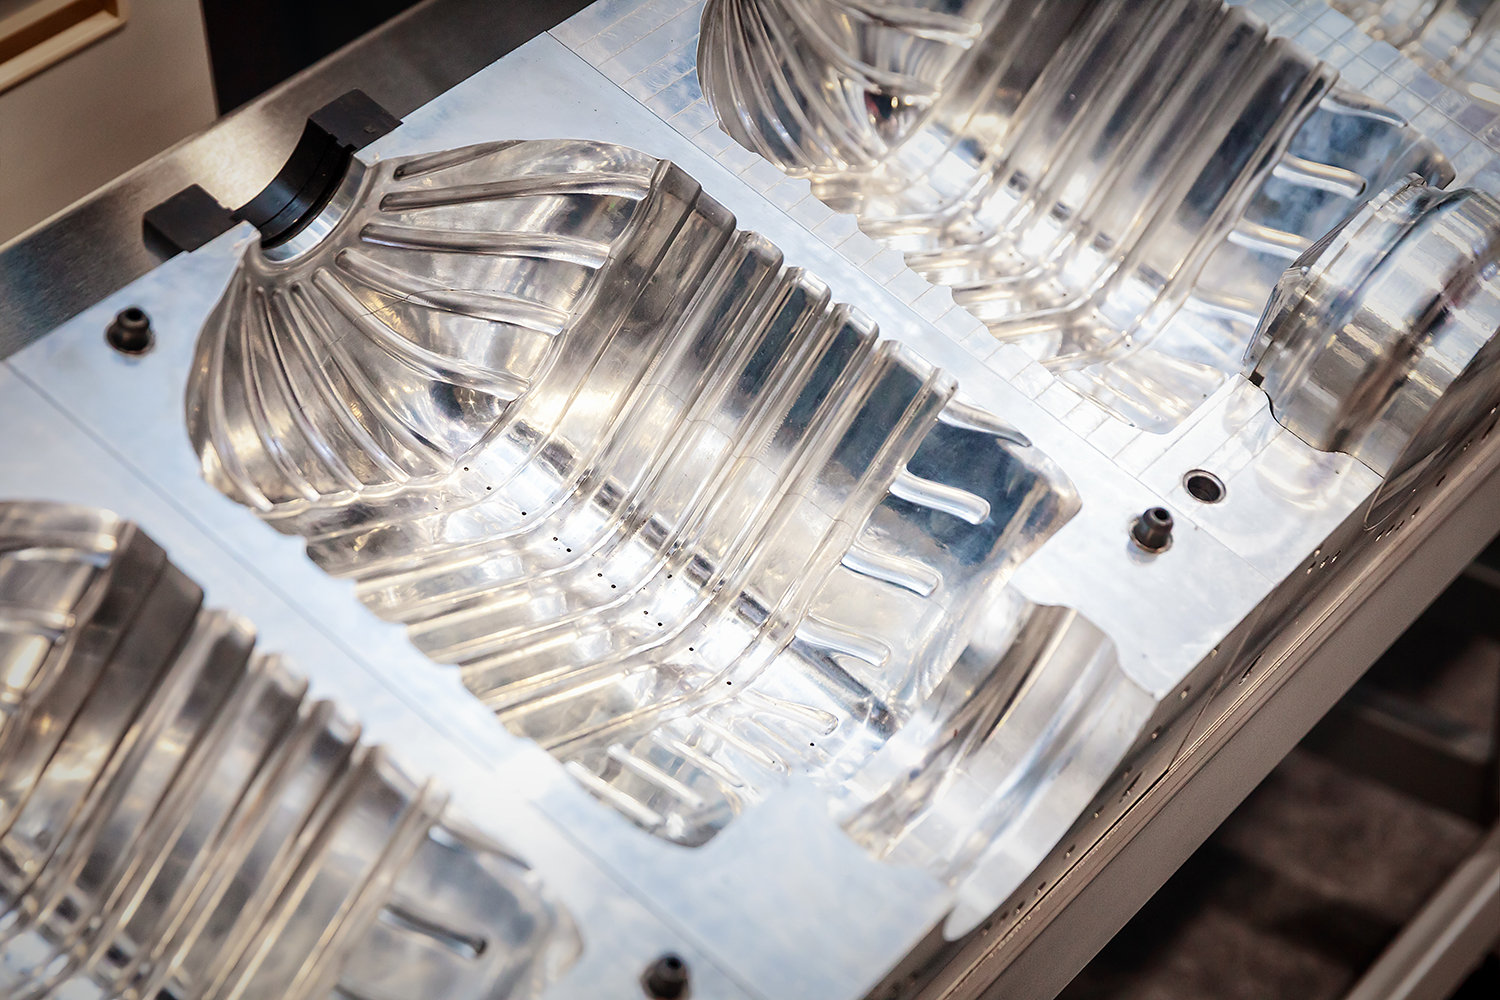
Your part quality does not start at the press. It starts at the surface, and that surface is only as reliable as the care you put into maintaining it. Choosing the right mold cleaner and using it correctly are among the most important steps you can take to protect the tooling you depend on every day. Here is what you need to know.
Why Your Cleaning Approach Matters
What you are removing from your mold should drive how you remove it. Resin buildup, grease, wax residue, and overspray each respond differently to chemical and handling conditions. Reaching for the wrong industrial mold cleaner, or applying the right one incorrectly, can strip your mold surface coating, alter surface texture, and quietly erode the release performance your production depends on.
The goal of cleaning molds is not just removal. It is a controlled removal: lifting contamination buildup from the surface without compromising what the coating was designed to do.
It is also worth clearing up a distinction that causes problems more often than it should. Mold releases and mold cleaners are not the same product and should never be used in place of one another:
- A mold release is applied to aid part ejection
- A mold cleaner removes contamination buildup from the surface
Treating them as interchangeable does not just lead to inconsistent results. It puts the surface you are trying to protect at unnecessary risk.
Start Here: Pre-Inspection and Spot Testing
Before you reach for any cleaner, take a few minutes to look at the mold surface. Identify the type of contamination you are working with and note any areas where the mold surface coating shows signs of wear, discoloration, or changes in adhesion.
From there, run a spot test in a low-visibility or non-critical area before moving to full application. This step matters most when selecting a solvent. Different coatings react differently to cleaning chemistry, and a formula that performs well on one mold can degrade another. Apply your coating-safe cleaner, let it sit for a moment, wipe the area clean, and inspect carefully before proceeding.
Skipping the spot test to save a few minutes is one of the most common and costly missteps in mold maintenance. The time you invest up front can save you hours of recoating or surface repair down the line.
Step-by-Step: Injection Mold Cleaning Done Right
Once you have inspected the surface and confirmed your cleaner is compatible, it comes down to executing the process consistently. Work through these steps every time:
1. Match Your Cleaner to the Contamination Type
Let your solvent selection follow what you are actually removing. Heavy resin buildup calls for a different chemistry than grease or wax residue. Start with a milder, coating-safe cleaner and escalate only when necessary. Always verify compatibility with your mold surface coating before full application.
2. Allow Proper Dwell Time
Apply the cleaner and let it penetrate the contamination before wiping. Dwell time directly affects residue removal. Cut it short, and you end up applying more mechanical force than the surface should take. Leave an aggressive formula on too long, and you risk surface finish damage.
3. Use Non-Abrasive Cleaning Tools
Wipe and brush selection carries as much weight as the cleaner itself. For reliable surface finish protection, use:
- Soft, lint-free cloths
- Brushes with non-metallic bristles
- Application tools rated safe for coated mold surfaces
The tools you use to apply and wipe your cleaner directly affect how long your coating lasts. The wrong choice scratches the surface and subtly alters mold geometry in ways that compound over repeated cleaning cycles. Non-abrasive cleaning is not a preference. It is the standard your tooling investment requires.
4. Wipe With Consistent, Low-Pressure Strokes
Work with the mold geometry where possible. Heavy circular scrubbing wears coatings unevenly and introduces micro-abrasion that accumulates with each cleaning cycle.
5. Dry the Surface Completely
Residual cleaner left on the mold can interfere with release performance and compromise your first parts out of the gate. Give the surface a thorough dry-down or wipe it clean with a dry cloth before returning the mold to service.
Common Failure Points to Know
Even experienced teams run into these. Keep an eye out for the following in your mold cleaning process:
- Applying aggressive solvents to coated surfaces without a spot test first
- Defaulting to mechanical scraping when the right chemistry would do the work
- Running overheated cleaning cycles that soften or compromise surface coatings
- Letting cleaning frequency slip, which allows contamination buildup to compound and demands more aggressive correction over time
- Treating mold releases and mold cleaners as the same product
Most of these mistakes come down to one thing: speed taking priority over process. The damage rarely shows up right away, but it builds steadily until you face defects, coating failures, or downtime that better maintenance habits could have prevented.
When Standard Cleaning Is Not Enough
Consistent mold cleaning keeps everyday contamination under control and forms the foundation of reliable defect prevention. But if you are still seeing persistent release failures, visible coating wear, or recurring part defects after cleaning molds, the problem goes deeper than cleaning frequency.
At that point, a closer look is in order: professional evaluation, re-coating, or repair. Staying ahead of that with a preventive maintenance schedule tied to cycle counts or production volume is how you protect tool life and avoid the higher costs of unplanned repairs.
The Right Process Protects Everything Downstream
How you care for your molds between runs reflects directly in every part you produce. With the right industrial mold cleaner, a disciplined process, and consistent attention to solvent selection, dwell time, non-abrasive cleaning, and thorough dry-down, you protect your mold surface coating, maintain steady release performance, and keep unplanned downtime from disrupting your production schedule.
Ready to find the right mold cleaning solution for your operation? Contact us today and let our team help you put the right process in place for your molds and your goals.